Properly setup a Laravel project
Implementing a Laravel project can be taken as something lightly that can be interpreted as simply installing the project and that's it, when it comes to practice if you want to resort to good coding practices and also in development experience, you have to install some configuration utilities that will allow us all this mentioned above covering the basic steps for every tool, we will go step by step of what to do after having installed our Laravel project, we will use npm for package install purposes:
Let’s install ESLint
We normally commit some or many errors when writing our javascript code that we don’t get any idea from it, especially if coming from typescript, ESLint allows us to detect these syntax errors that we would easily overlook and also correct our code quality in our IDE, helping us to maintain a consistent code.
Here you got the Getting Started section from documentation.
First we must install the package:
npm install eslint --save-dev
After installing you should initialize the config file:
npm init @eslint/config
Here we will get a set of many questions on how would like to configure ESLint, they were the following:
√ How would you like to use ESLint?
√ What type of modules does your project use?
√ Which framework does your project use?
√ Does your project use TypeScript?
√ Where does your code run?
√ How would you like to define a style for your project?
√ Which style guide do you want to follow?
√ What format do you want your config file to be in?
Here comes Prettier
When we talk about prettier we mean about styling clean and beautifully our code, Prettier is a code formatter which supports many languages and reprints all of our code in a more consistent style and being more readable for developers.
For implementing the prettier utility, we will only check for Install and Config File sections.
We should install the package:
npm install --save-dev --save-exact prettier
And let’s create our config file to get this tool functional:
echo {}> .prettierrc.json
This config file must get at least a configuration like the next one, this is the way we do it:
{
  "printWidth": 80,
  "tabWidth": 2,
  "useTabs": false,
  "semi": true,
  "singleQuote": true,
  "trailingComma": "all",
  "arrowParens": "avoid"
}
We also should create a .prettierignore file to let know which files should not be formatted.
Implementing React components with Inertia
In our preferred case we work using React on the frontend with Inertia which is a tool that let us to integrate the JSX component-based rendered pages feature into a server-render framework. Of course, when installing Inertia we also get installed the chosen frontend components, either React or Vue.
In this situation we install Inertia with React, but first we are going to install Inertia on the server-side (Laravel):
composer require inertiajs/inertia-laravel
Server-side Inertia
We must setup our root template, here we will load our assets (CSS and JS) and contain a root div to boot our JS code.
In our app.blade.php from resources/views we put the following code:
<!DOCTYPE html>
<html>
  <head>
    <meta charset="utf-8" />
    <meta name="viewport" content="width=device-width, initial-scale=1.0, maximum-scale=1.0" />
    <link href="{{ mix('/css/app.css') }}" rel="stylesheet" />
    <script src="{{ mix('/js/app.js') }}" defer></script>
  </head>
  <body>
    @inertia
  </body>
</html>
Let’s setup our Inertia middleware, which is published as HandleInertiaRequests
php artisan inertia:middleware
Now register the middleware in App/Http/Kernel.php as the last item in the web middleware group:
'web' => [
    // ...
    \App\Http\Middleware\HandleInertiaRequests::class,
],
Client-side Inertia
After installing Server-side implementation now we can install our npm package for Inertia.
npm install @inertiajs/inertia @inertiajs/inertia-react
And now update your app.js file to iniatialize the client-side Inertia.
import React from 'react';
import { render } from 'react-dom';
import { createInertiaApp } from '@inertiajs/inertia-react';

createInertiaApp({
  resolve: name => require(`./Pages/${name}`),
  setup({ el, App, props }) {
    render(<App {...props} />, el);
  },
});
Installing TailwindCSS
Installing Tailwind in our project is very exciting to use because of the customization flow on his features, at this day is getting to be the most used CSS library and changes the way we see the use of CSS language.
Let’s install the library with npm and creating our tailwind.config.js :
npm install -D tailwindcss postcss autoprefixer
npx tailwindcss init
In webpack.mix.js add tailwindcss as a PostCSS plugin.
mix.js("resources/js/app.js", "public/js")
  .postCss("resources/css/app.css", "public/css", [
    require("tailwindcss"),
  ]);
Add the following in your tailwind config file:
module.exports = {
	content: ["./resources/**/*.tsx"],
	theme: {
		extend: {},
	},
	plugins: [],
}
Add these @tailwind directives in your ./resources/css/app.css
file.
@tailwind base;
@tailwind components;
@tailwind utilities;
And compile the files with this command:
npm run watch
Now we get up with Typescript
The objective of the Typescript language is to highlight inconsistencies on data types and let us to avoid a wrong behavior on code functionality.
First we install the typescript compiler:
npm install ts-loader typescript --save-dev
Now we must create a config file to determine these rules, this file gets his name by tsconfig.json with the following configuration:
{
  "compilerOptions": {
    "target": "es5",
    "module": "commonjs",
    "jsx": "react",
    "strict": true,
    "esModuleInterop": true,
    "skipLibCheck": true,
    "forceConsistentCasingInFileNames": true
  }
}
And finally we should change in our webpack.mix.js file to the following lines:
mix
  .ts('resources/js/App.tsx', 'public/js')
  .react()
  .postCss('resources/css/app.css', 'public/css', [require('tailwindcss')])
  .webpackConfig(require('./webpack.config'));
Php CS Fixer, a very good one
This utility can be found as a VS code extension or a composer package, but in our case we will use the extension way.
I mentioned that is a VS code extension right? Of course, we use Visual Studio Code as our code editor in this case.
Here we will give you the VS code option and Composer package option.
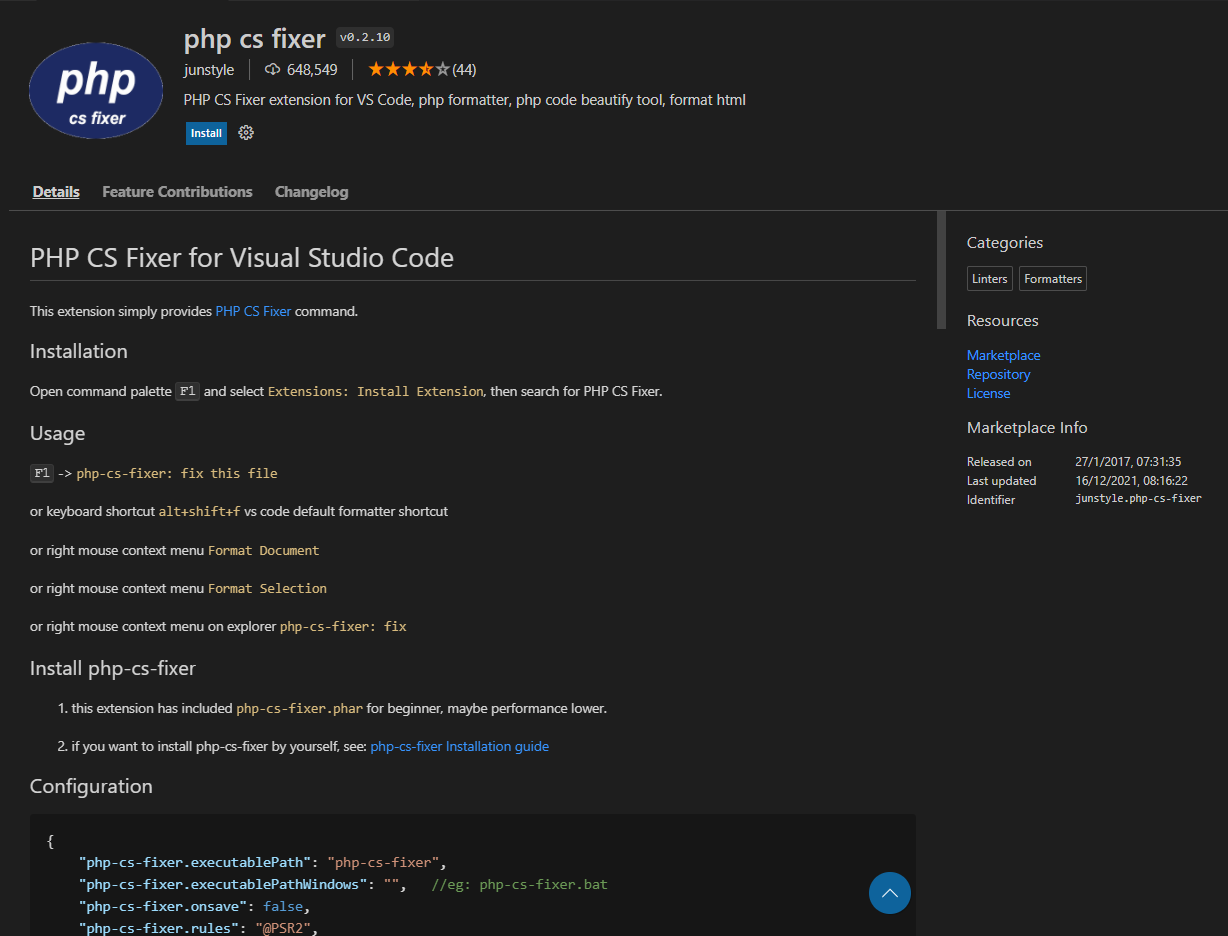
First we go into our Extensions tab (Ctrl+Shift+X) and search “php cs fixer” we should get this one:
Then we must click on Install and there we got our php cs fixer extension, there are two things that we must configure to start to use it, so let’s check out:
- Open the settings and go to the
settings.jsonfile button at the top-right corner of the tabs section, in the end of the file add these lines:
"php-cs-fixer.lastDownload": 1652884104015,
"php-cs-fixer.executablePath": "${extensionPath}/php-cs-fixer.phar",
"php-cs-fixer.onsave": true,
"php-cs-fixer.rules": "@PSR2",
"php-cs-fixer.config": ".php-cs-fixer.php;.php-cs-fixer.dist.php;.php_cs;.php_cs.dist",
"php-cs-fixer.allowRisky": false,
"php-cs-fixer.pathMode": "override",
"php-cs-fixer.exclude": [],
"php-cs-fixer.autoFixByBracket": true,
"php-cs-fixer.autoFixBySemicolon": false,
"php-cs-fixer.formatHtml": true,
"php-cs-fixer.documentFormattingProvider": true,
- Create a file named
.php-cs-fixer.php, this is our config file for php-cs-fixer, and paste the following lines:
<?php

$finder = PhpCsFixer\Finder::create()
    ->exclude('bootstrap/cache')
    ->exclude('storage')
    ->exclude('vendor')
    ->exclude('bower_components')
    ->exclude('node_modules')
    ->in(__DIR__)
    ->name('*.php')
    ->notName('*.blade.php')
    ->ignoreDotFiles(true)
    ->ignoreVCS(true);

return (new PhpCsFixer\Config())
    ->setFinder($finder)
    ->setRules([
        '@PSR2' => true,
        'phpdoc_no_empty_return' => false,
        'phpdoc_var_annotation_correct_order' => true,
        'array_syntax' => [
            'syntax' => 'short',
        ],
        'no_singleline_whitespace_before_semicolons' => true,
        'no_extra_blank_lines' => [
            'tokens' => [
                'break', 'case', 'continue', 'curly_brace_block', 'default',
                'extra', 'parenthesis_brace_block', 'return',
                'square_brace_block', 'switch', 'throw', 'use', 'use_trait',
            ],
        ],
        'cast_spaces' => [
            'space' => 'single',
        ],
        'concat_space' => [
            'spacing' => 'one',
        ],
        'ordered_imports' => [
            'sort_algorithm' => 'length',
        ],
        'single_quote' => true,
        'lowercase_cast' => true,
        'lowercase_static_reference' => true,
        'no_empty_phpdoc' => true,
        'no_empty_comment' => true,
        'array_indentation' => true,
        'short_scalar_cast' => true,
        'class_attributes_separation' => [
            'elements' => [
                'const' => 'one',
                'method' => 'one',
                'property' => 'one',
            ],
        ],
        'no_mixed_echo_print' => [
            'use' => 'echo',
        ],
        'no_unused_imports' => true,
        'binary_operator_spaces' => [
            'default' => 'single_space',
        ],
        'no_empty_statement' => true,
        'unary_operator_spaces' => true, // $number ++ becomes $number++
        'standardize_not_equals' => true, // <> becomes !=
        'native_function_casing' => true,
        'ternary_operator_spaces' => true,
        'ternary_to_null_coalescing' => true,
        'declare_equal_normalize' => [
            'space' => 'single',
        ],
        'function_typehint_space' => true,
        'no_leading_import_slash' => true,
        'blank_line_before_statement' => [
            'statements' => [
                'break', 'case', 'continue',
                'declare', 'default',
                'do', 'exit', 'for', 'foreach',
                'goto', 'if', 'include',
                'include_once', 'require', 'require_once',
                'return', 'switch', 'throw', 'try', 'while', 'yield', 'yield_from',
            ],
        ],
        'combine_consecutive_unsets' => true,
        'method_chaining_indentation' => true,
        'no_whitespace_in_blank_line' => true,
        'blank_line_after_opening_tag' => true,
        'no_trailing_comma_in_list_call' => true,
        'list_syntax' => ['syntax' => 'short'],
        'compact_nullable_typehint' => true,
        'explicit_string_variable' => true,
        'no_leading_namespace_whitespace' => true,
        'trailing_comma_in_multiline' => true,
        'not_operator_with_successor_space' => true,
        'object_operator_without_whitespace' => true,
        'single_blank_line_before_namespace' => true,
        'no_blank_lines_after_class_opening' => true,
        'no_blank_lines_after_phpdoc' => true,
        'no_whitespace_before_comma_in_array' => true,
        'no_trailing_comma_in_singleline_array' => true,
        'multiline_whitespace_before_semicolons' => [
            'strategy' => 'no_multi_line',
        ],
        'no_multiline_whitespace_around_double_arrow' => true,
        'no_useless_return' => true,
        'phpdoc_add_missing_param_annotation' => true,
        'phpdoc_order' => true,
        'phpdoc_scalar' => true,
        'phpdoc_separation' => true,
        'phpdoc_single_line_var_spacing' => true,
        'single_trait_insert_per_statement' => true,
        'ordered_class_elements' => [
            'order' => [
                'use_trait',
                'constant',
                'property',
                'construct',
                'public',
                'protected',
                'private',
            ],
            'sort_algorithm' => 'none',
        ],
        'return_type_declaration' => [
            'space_before' => 'none',
        ],
    ])
    ->setLineEnding("\n");
Now test by creating a php file and write a class or a function of your desire on VS code, and save it, check that your code lines format automatically after saving, and you got it! Your php code formats syntactically as it should.
Conclusion
Laravel does well for giving us a versatile structure for our project, but we can also get some extra tools to upgrade our work flow, because code development is craftsmanship both to improve our product and to enhance our tooling repertoire.
And not only is upgrading our work flow, also conceiving a code standard to follow and improving our code readability as well as our code structure.
References
- ESLint Documentation
- Prettier Documentation
- Inertia Documentation
- TailwindCSS Documentation
- Typescript Documentation
- Typescript with Laravel Tutorial (Laravel News)
- Php cs fixer from Visual Studio Marketplace

Coding is a cool way to spend my time on, also learning and browsing better ways of doing things.